Basics with Blender
I rediscovered Blender today. Their open movie projects have always inspired me to create. With the urge to brush up on my old chops and a small project I spent a few moments revisiting the tool. This is a vast program with great tutorials. Below are my notes — mostly here to serve as a memory primer. These notes are mostly a TLDR to myself though if you’ve used Blender before they may be useful to you as well.
Manipulation
The cube in the default scene can be manipulated with a few shortcuts. Select it with Left Click. Watch the footer of the window for shortcut hints. These will get you pretty far.
sx— scale along the x-axis.syandszdo what you might imagine.gz— grab and move along the z-axis.gyandgxshould be self explanatory.ry— rotate along the y-axis.rxandrz… you get the gist.esc— to cancel a manipulationMiddle Click, Drag— rotate the viewShift + D— to duplicate the selected objectF12— to render the scene or…
Materials
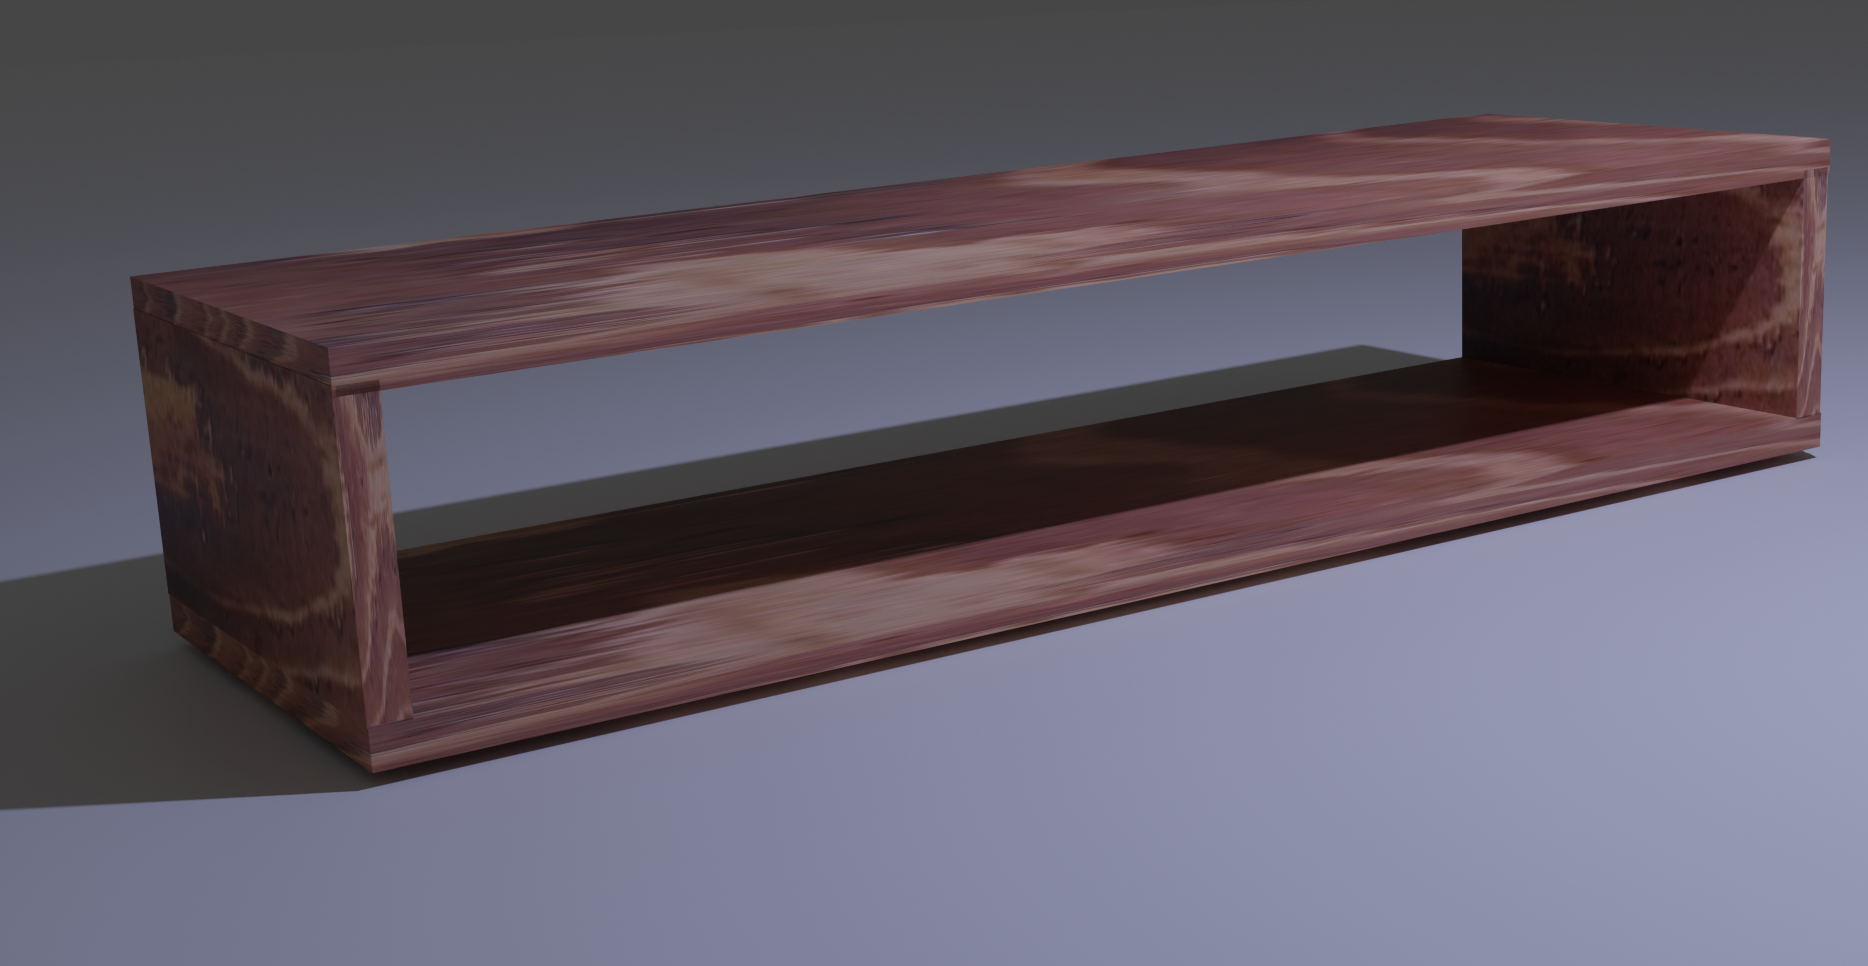
To make my little box shelf look wooden, what did I do? From the scene collection I expanded the cube object clicked the materials icon next to the mesh and then added a material slot and a corresponding new material — from there I set the base color to be a Texture > Image Texture and opened the file I wanted to use. From there you can render it or change the viewport shading from Solid to Material Preview.
Et voilà —
More
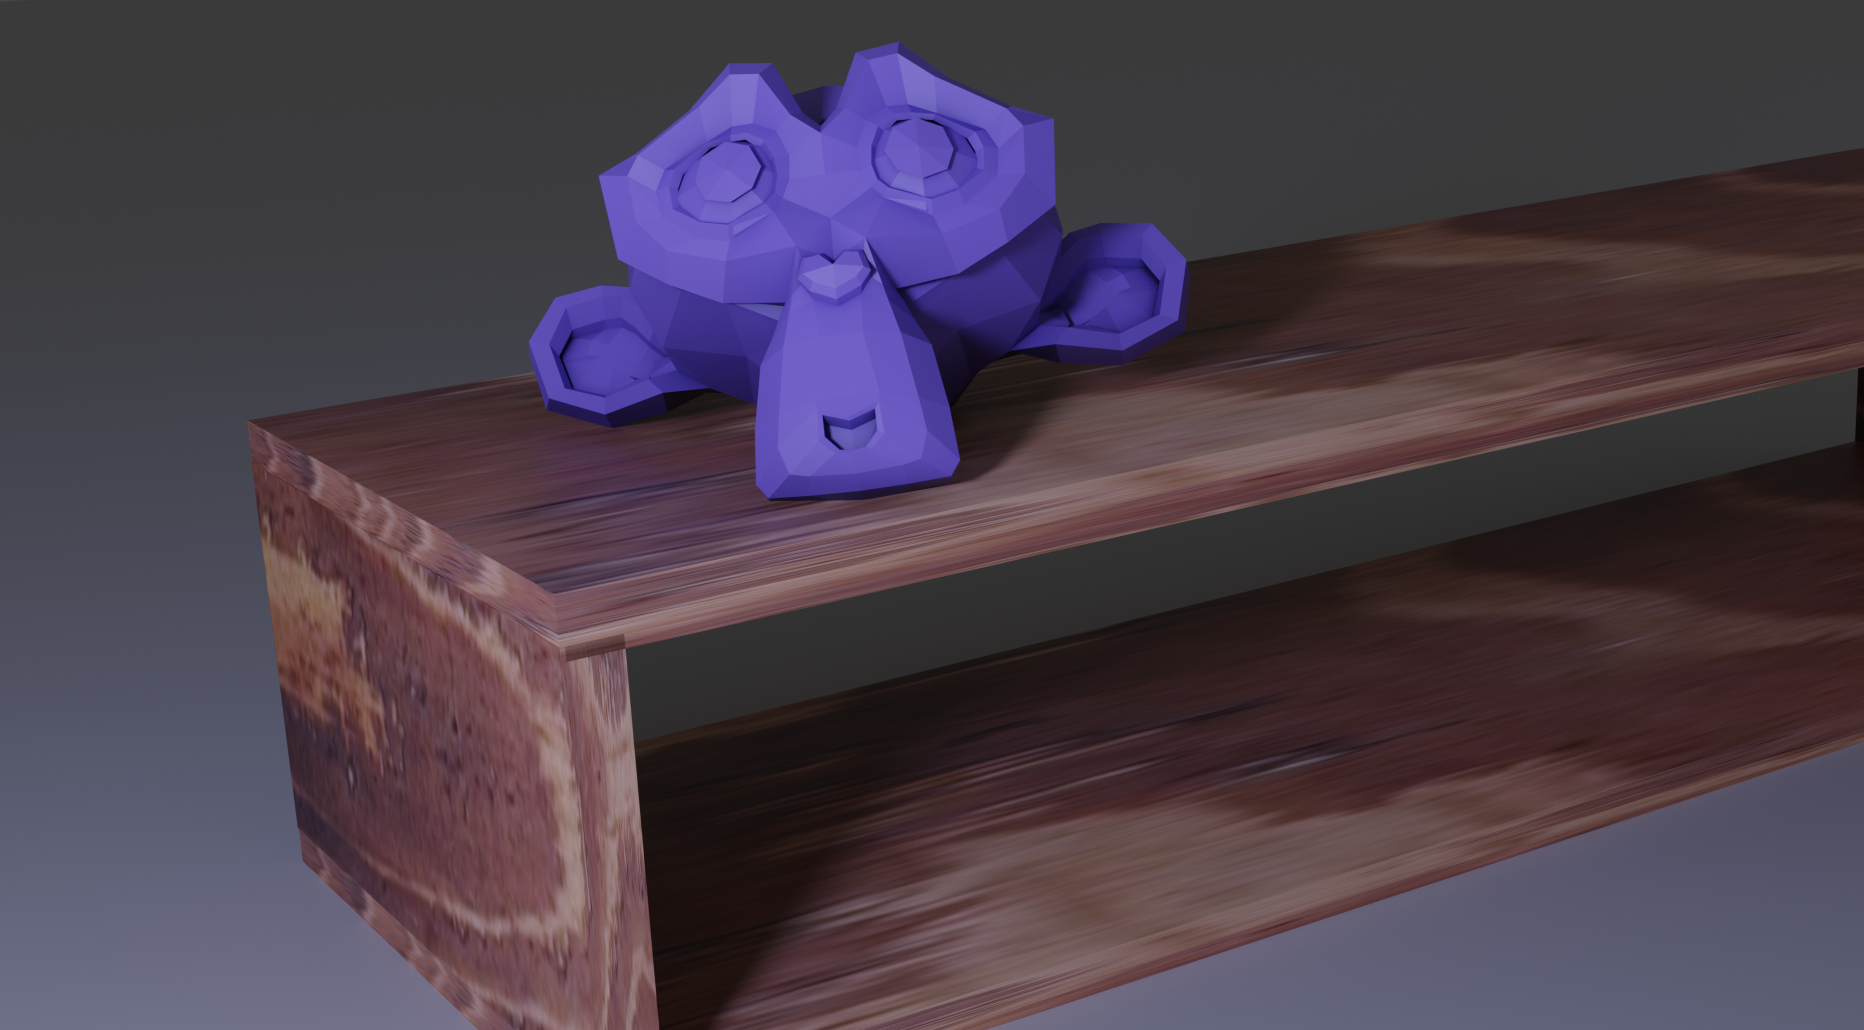
To construct the famous Suzanne mesh — Shift + A and select her lovely monkey face from the menu. If you have numpad — use 0 to get the camera’s perspective and other numbers to view the scene from the top, bottom or sides. You can also click in the interface to change the view. With a bit of fuss and the cycles render engine — a tchotchke.
Larger Scenes
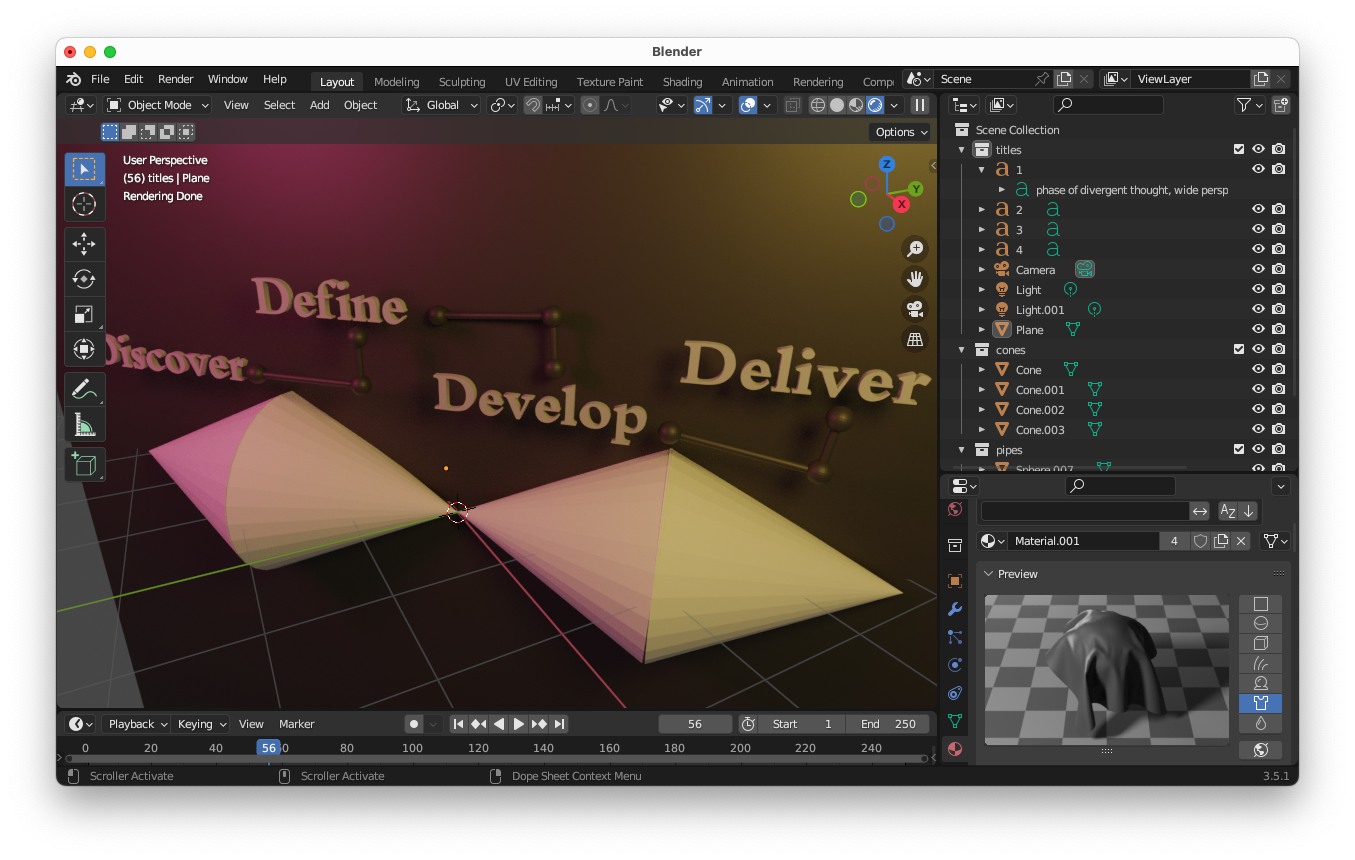
Once a scene begins to grow a few options exist for staying organized — consider the outline view. Collect your objects, label them, hide and show them. A few shortcuts I found helpful in today’s session,
n— toggles a properties panel, in the view tab the 3d cursor can be changed and transform origins can be set⌘ + J— merge selected objects into a meshz— then pull mouse to desired preview mode, helped me orient
Notes
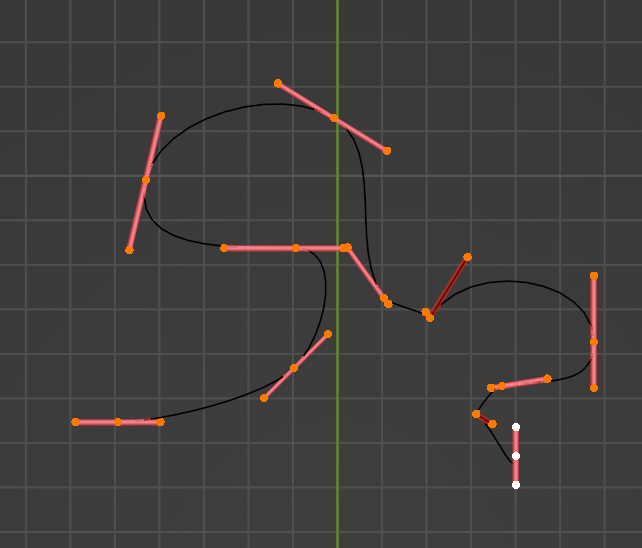
This is a spline of control points in a bezier curve. The handles specify in and out directions. In blender the vertices are called control points and have a handle_left and handle_right.
Shortcuts/places I learned along the way…
tabto edit verticesshift spaceto quick switch between tools —- Panes
- Spreadsheet — explore object geometry in a table
- Post processing for meshes — Geometry Node Editor — like a guitar pedal board with lots of I/O
- It has noodles and sockets!
- You can group nodes, and gor group inputs
ctrl hwill hide and show unused inputs - There is a lot going on here. It’s like visual programming where you connect and modify compatible things — I think that is what the colors mean on the little dots that can be used for connecting nodes.
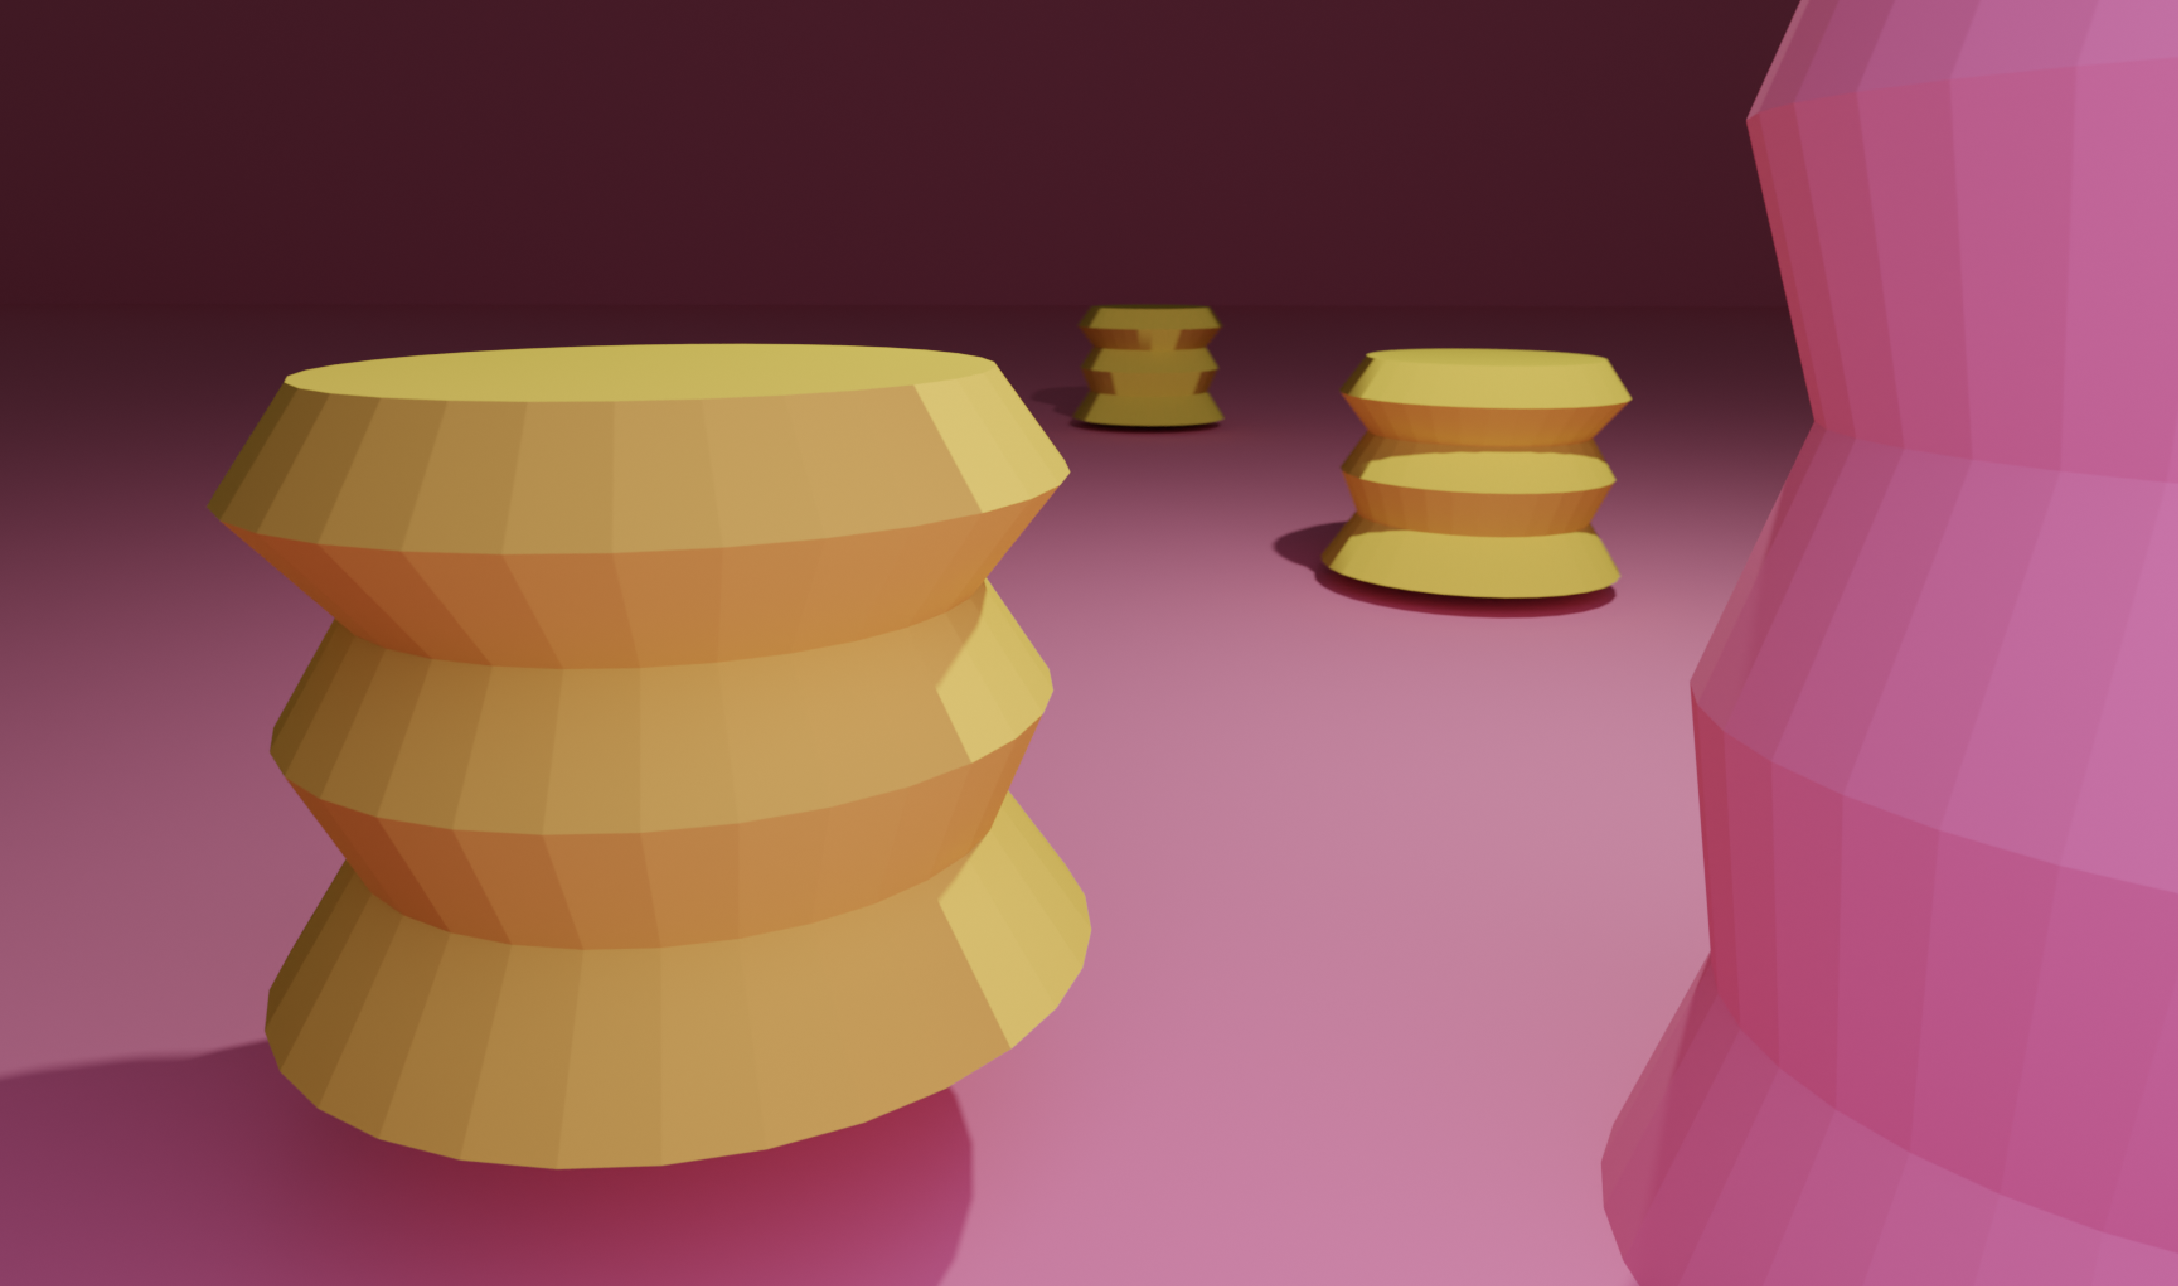
- Properties from different objects can be used to generate things in other objects. It is really beautiful actually.
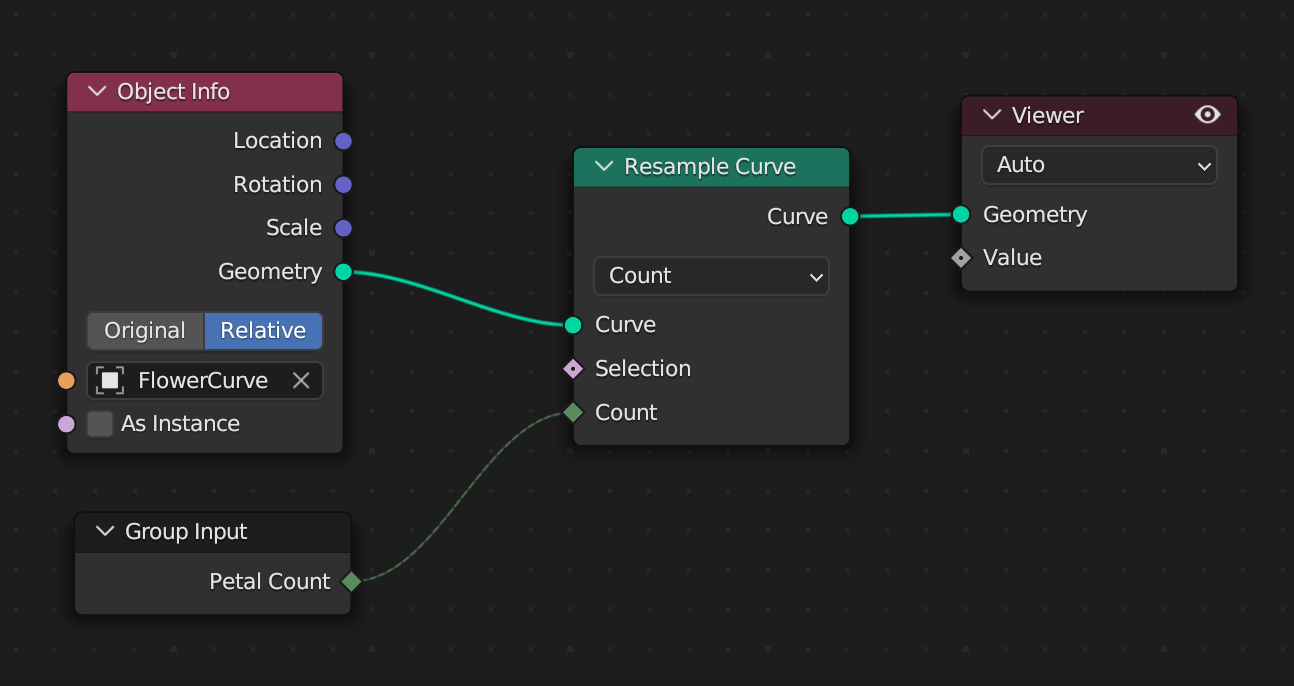
Here we’ve got an objects geometry being determined by a resampling curve that has a user defined input — allowing us to subdivide the vertices in the curve.
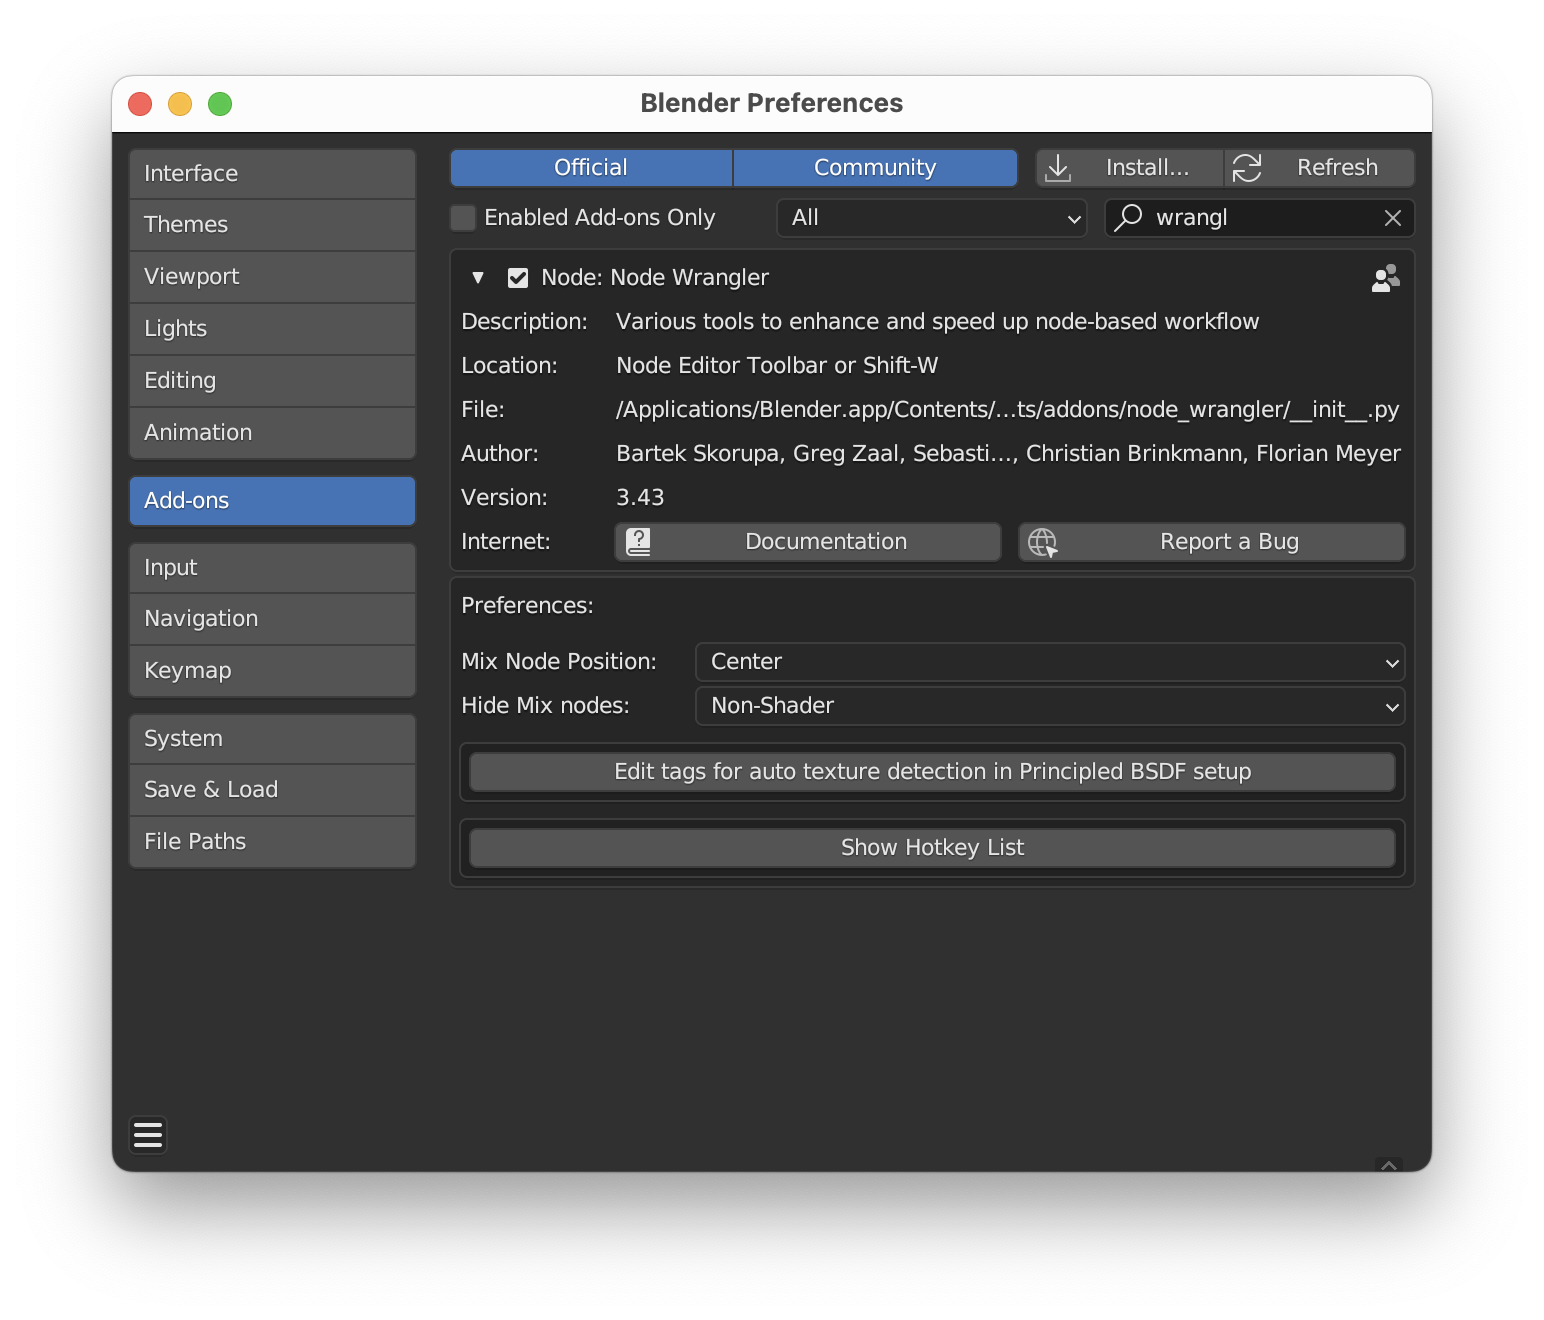
There’s a cool plugin that helps with node wrangling — Install it from Edit > Preferences > Add-ons then shift w to pull up the menu.
 You can select the “Viewer” node and the spreadsheet will update. You can also use similar shortcuts like shift a to add nodes here.
shift+A s <enter>— searches for a node to add, then you can click on a connection to splice it into the render pipeline- Group Inputs will show up under modifier properties
- Nodes can be grouped — abstraction
- Nodes can get a background — shift P
Speedy Shortcuts
- Use ` for quick view navigation and shift ` with WASD to control the camera
- Shift right click (position 3d cursor), Shift s (quick move)
- Add a circle,
tabto edit,fto add a face,eto extrude
What does “applying a scale” mean?